


how-to make a zine
autonomous information sharing at the fold of an a4 sheet of paper


Zines (pronounced 'zeen', as in, short for magazine) are becoming popular again with the rise of self-published, small-circulation prints. They speak to our freedom to form community through sharing information, strengthening the bond between author and audience, where other mediums have distanced them. I've been making zines for over a year now, and I'm ready to impart a little of my own knowledge and academic research to them!
It’s not only convenient to have a little booklet of your ideas, but the freedom of its format means you can explore them through papercraft, art and poetry. While the zine is not limited to this particular style of booklet, this version is convenient for self-publishing and sharing with others. Once you’re finished, fold the paper back out to flat A4 and scan on a printer, then you can print as many copies as you like and fold them up according to the instructions below!
In the future, I’d like to try book-binding techniques to make a sturdier ‘book’ - and with that comes the freedom to do more pop-ups and papercraft since the pages are less likely to crease or pop open. Of course, nowadays many zines are made using digital formats, enabled by Photoshop and other image editing software, but I wanted to focus on paper zines for the sake of this article, both for ease and specificity. This format really works because it’s accessible and easy - but play around with what a zine means to you! Do the pages have to follow a linear story? Can pages spill over into the next spread? Can you incorporate movable pieces? Digital images? Textiles? The zine is your oyster.
How to: Make a Zine - The Tutorial
Materials
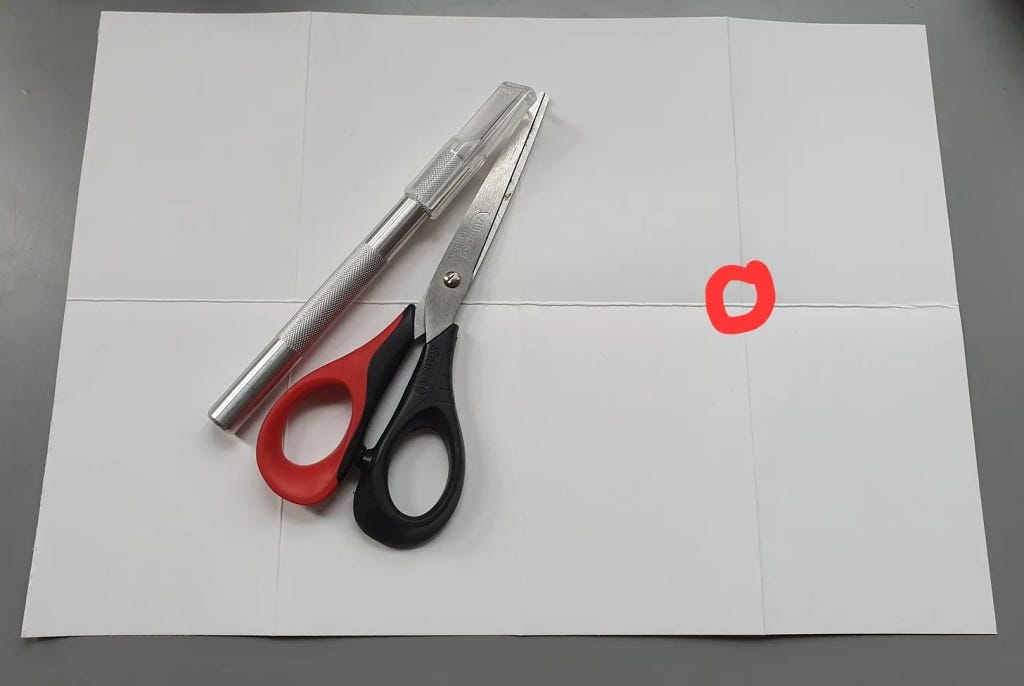
1 sheet of A4 paper (I’m using 220gsm cartridge paper from Fred Aldous - it’s very sturdy which makes it harder to fold, but it takes paint and ink better so the pages are less likely to tear).
A pair of scissors or a craft knife.
Pens/paints/pencils - whatever your heart desires.
Collage bits - magazines, newspapers, books, printed images. These can be good sources of inspiration for the content of the zine too.
Step 1
Fold your paper in half. We’re aiming to create 8 even boxes by the end. For sharp folds, use a ruler to press over the folds.
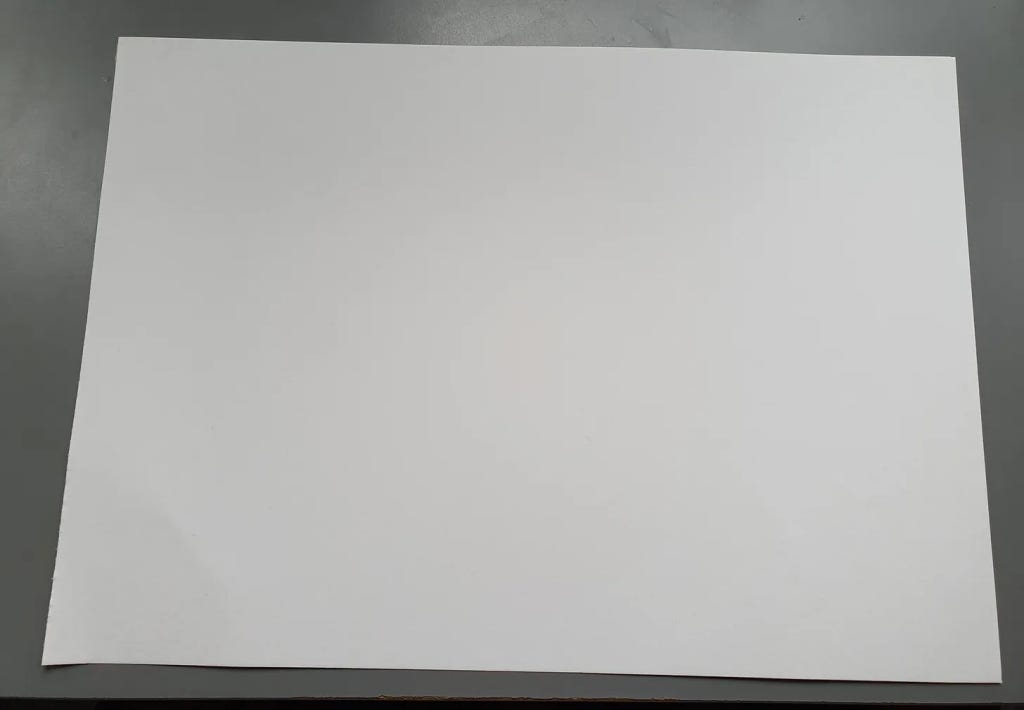
Fold the paper out flat again once this step is complete.
Step 2
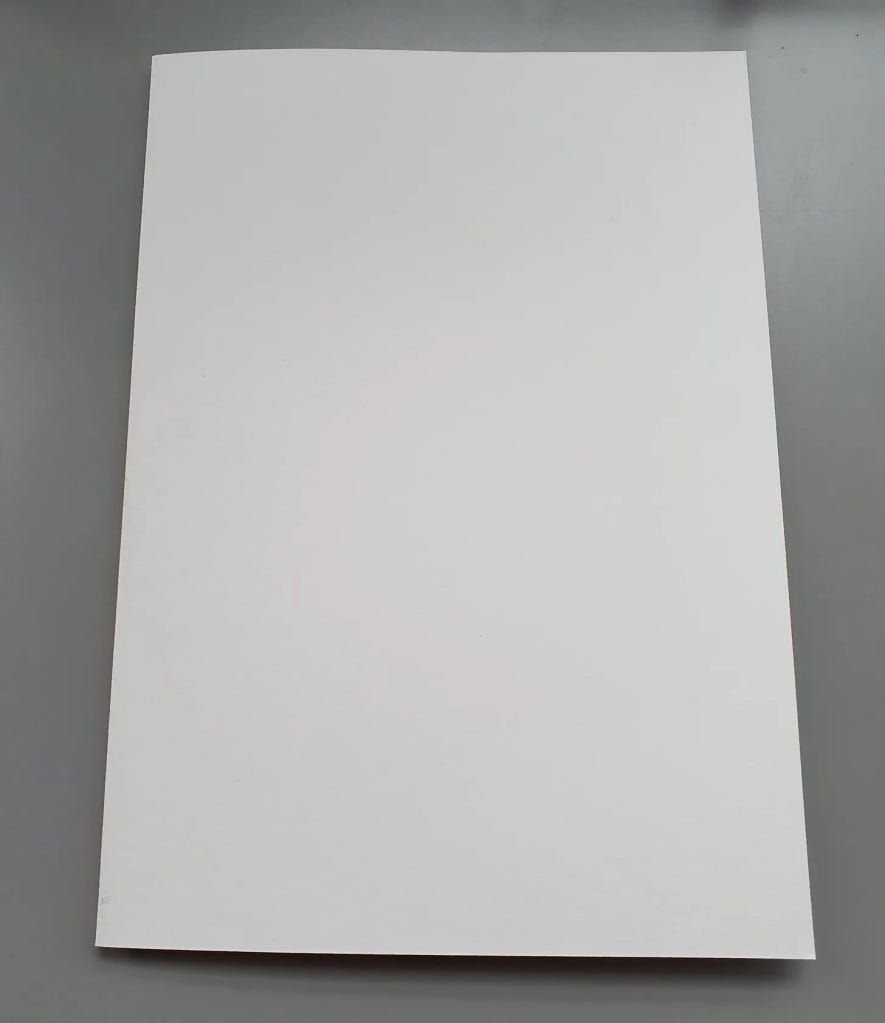
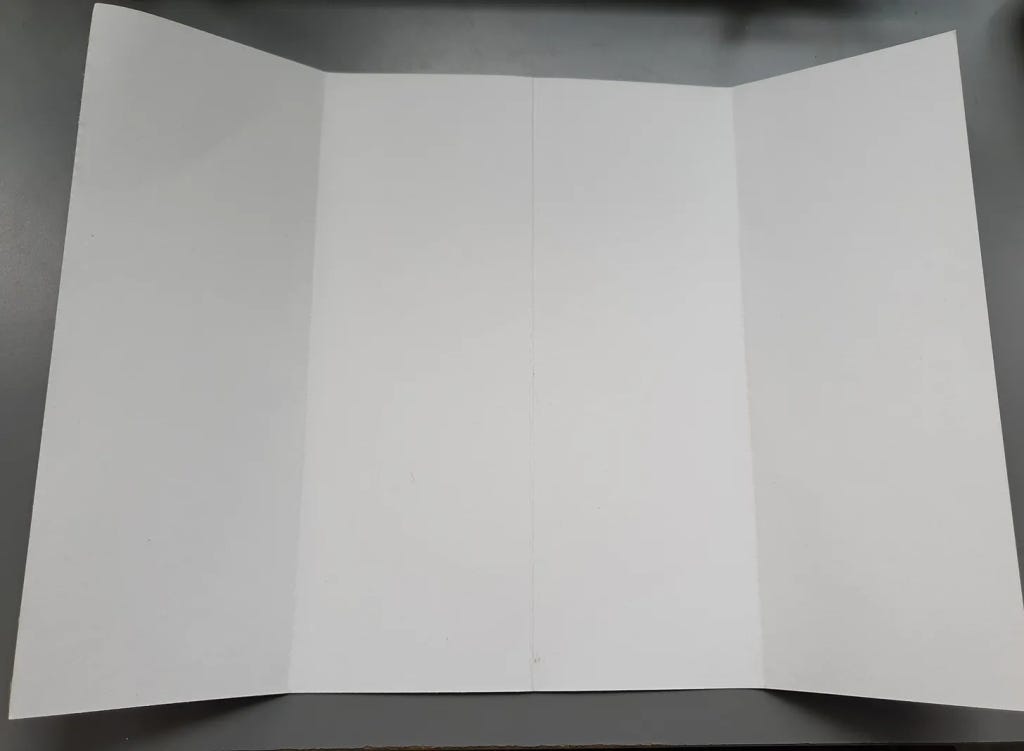
Fold each half of the paper in half again. You should have 4 quadrants at the end.

Step 3
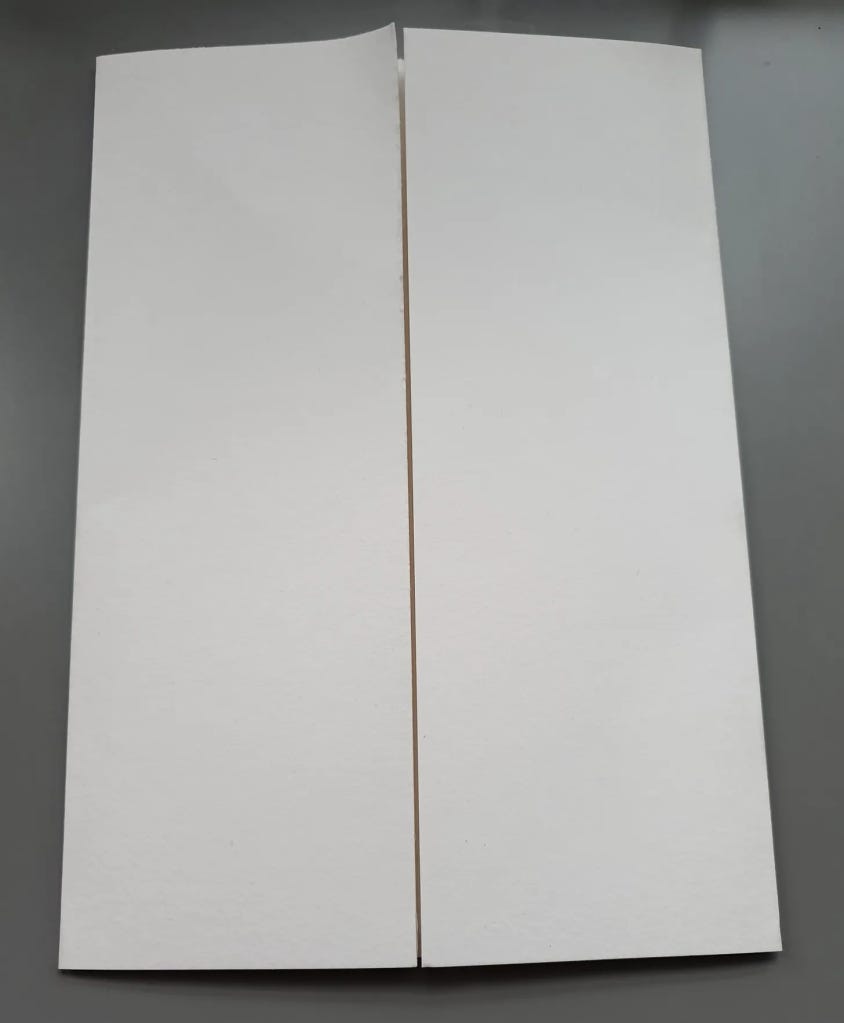
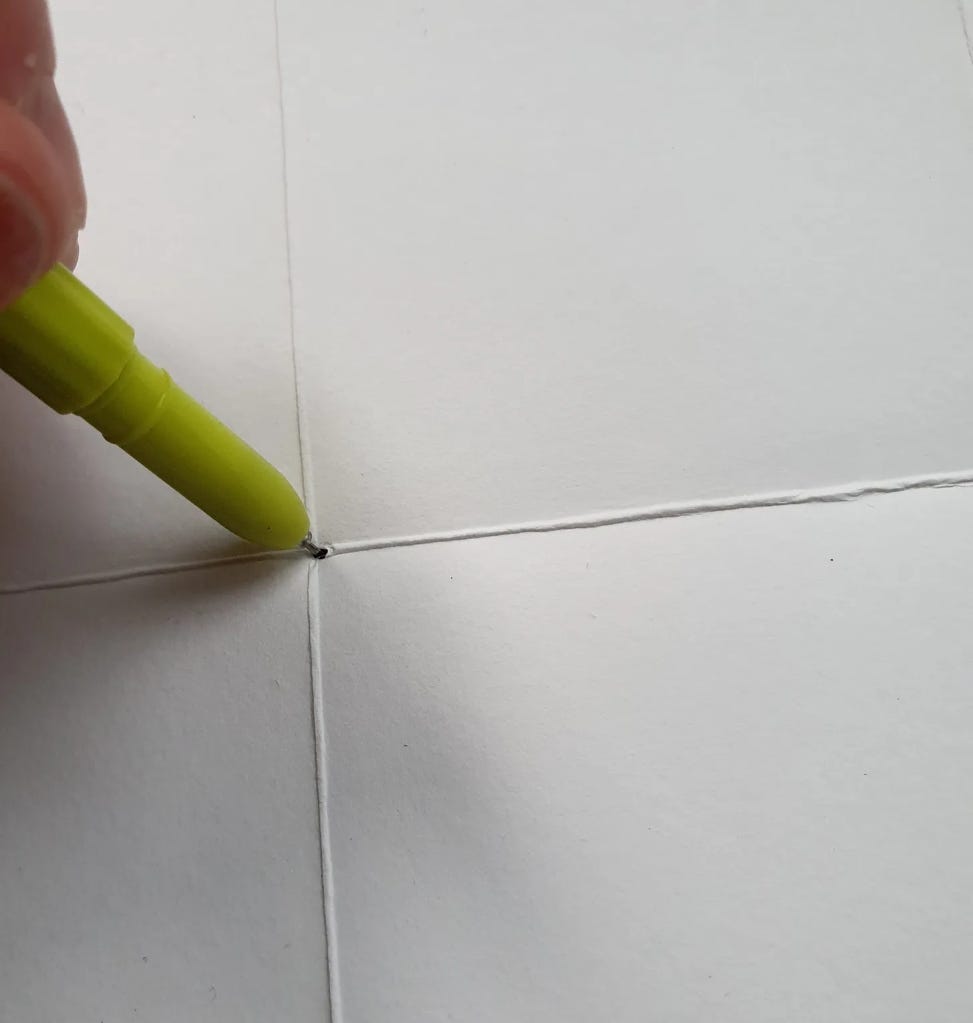
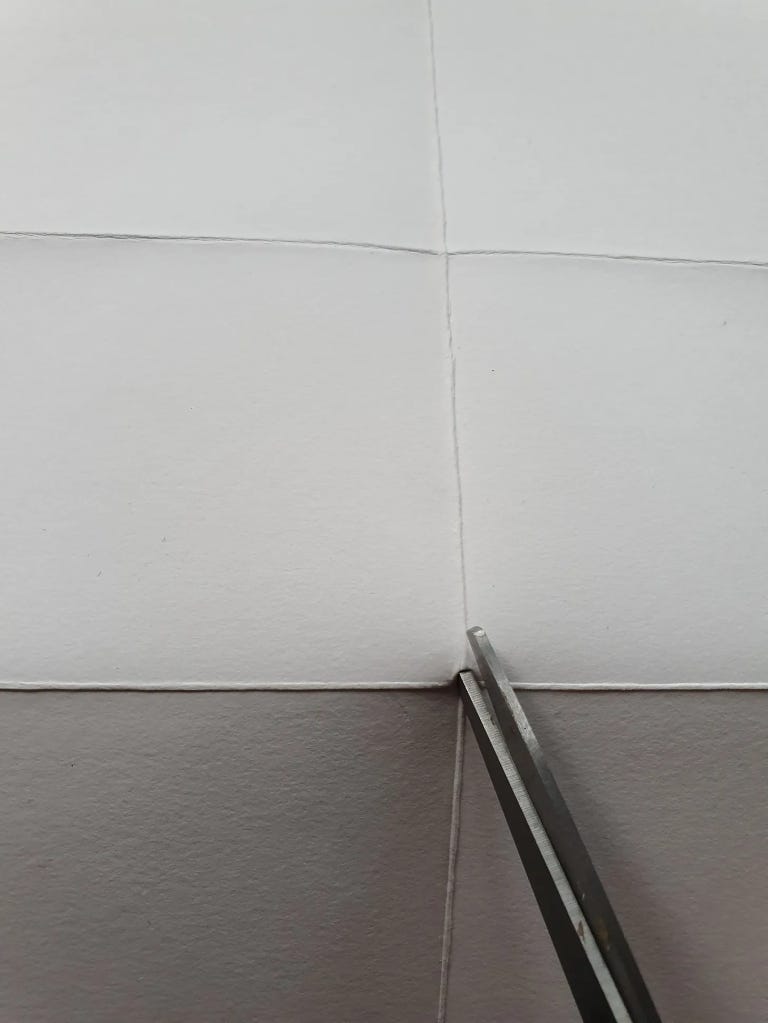
Fold in half lengthways to create 8 sections.
Then make a cut through the centre line, cutting across 2 sections (see below). I use a craft knife for this but you can puncture the paper with a pen and use scissors to cut from there.
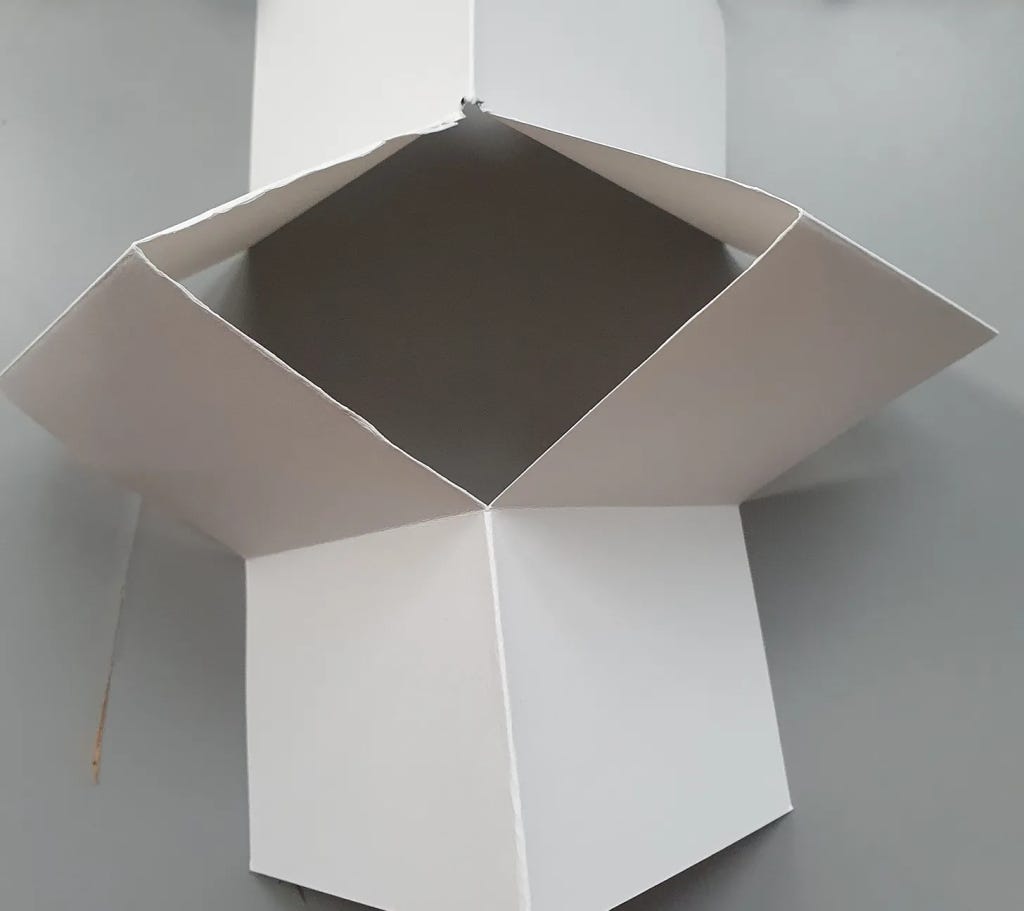
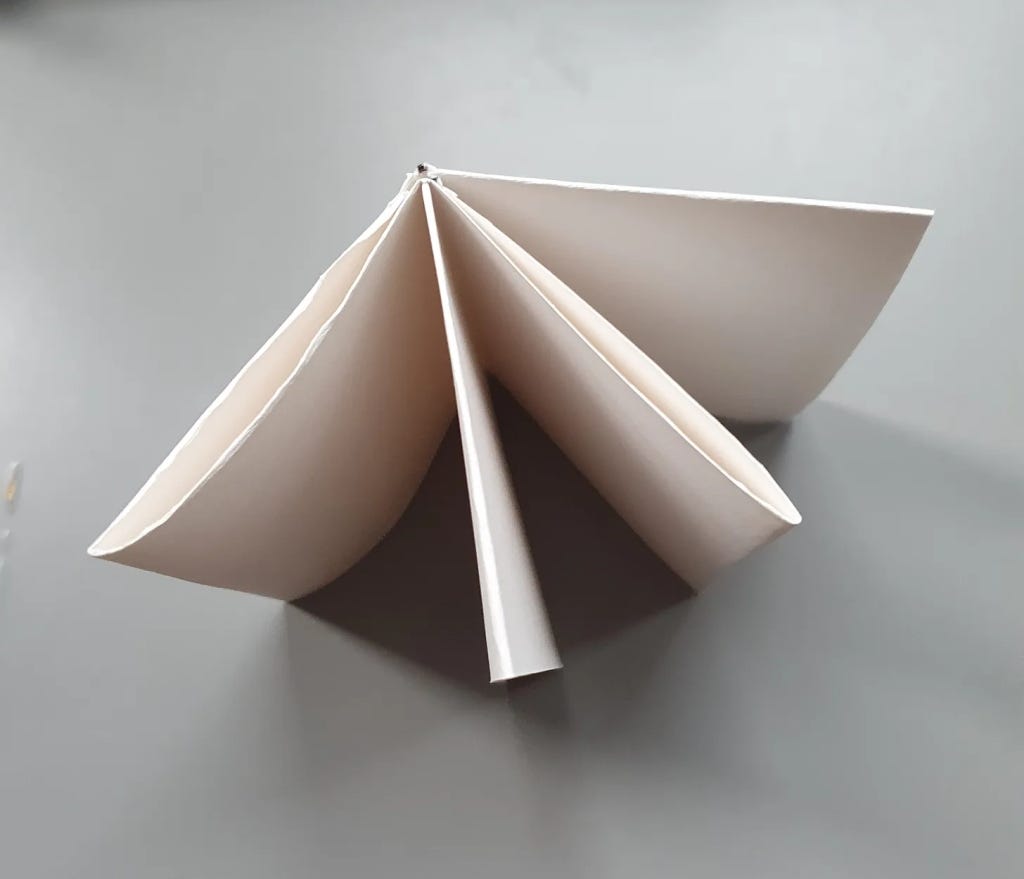
Step 4
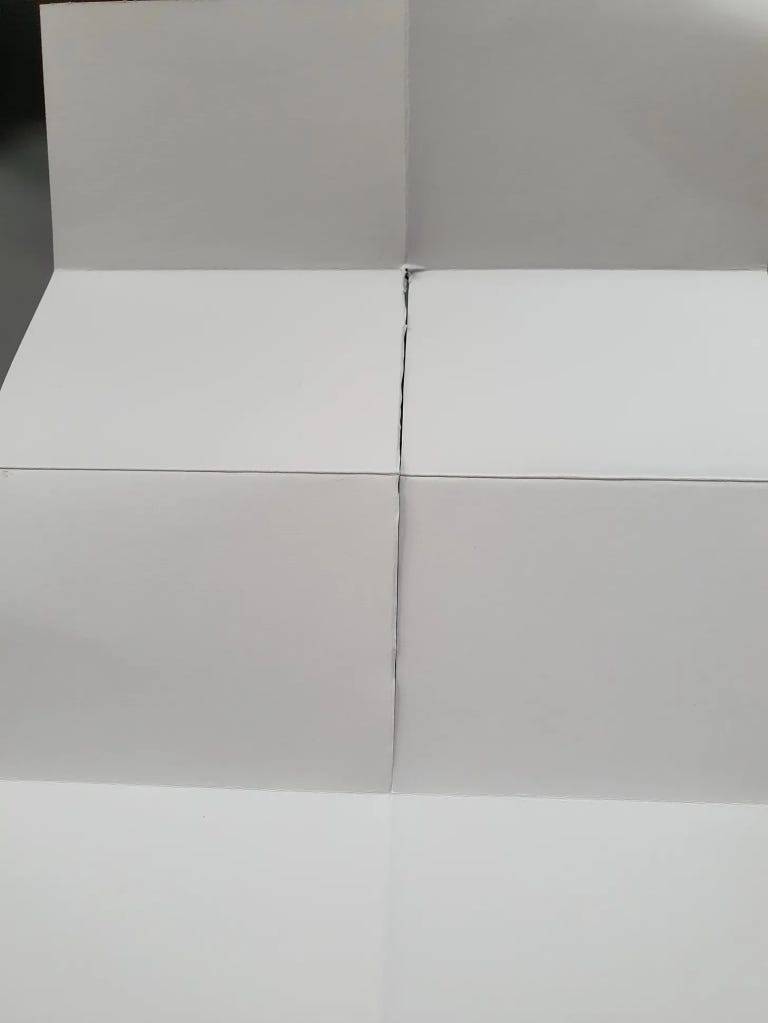
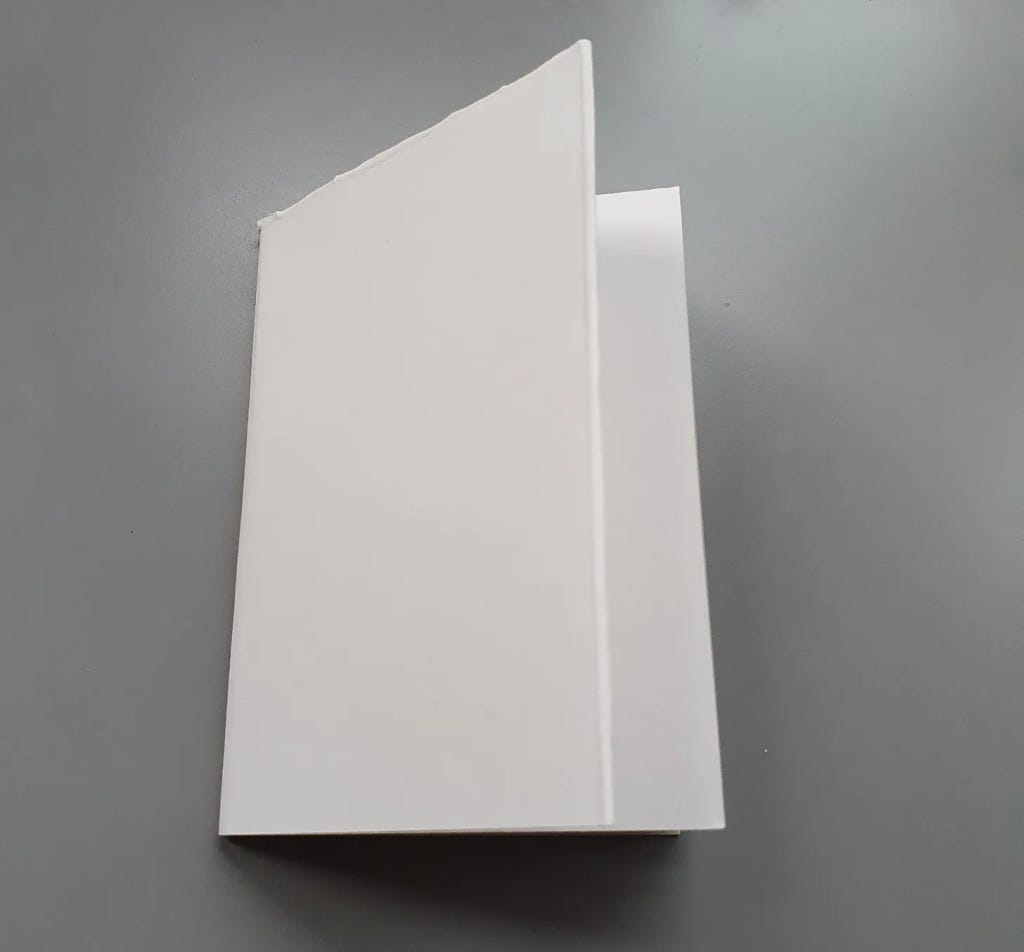
Push the the centre four sections together so that when viewing the zine from above, the sections form a ‘cross’. Then you can flatten the folded paper and push it into a booklet. This may seem like a confusing step at first, but the paper falls into a zine easily once you get it right, so push and fold until you reach the final stage.
Step 5
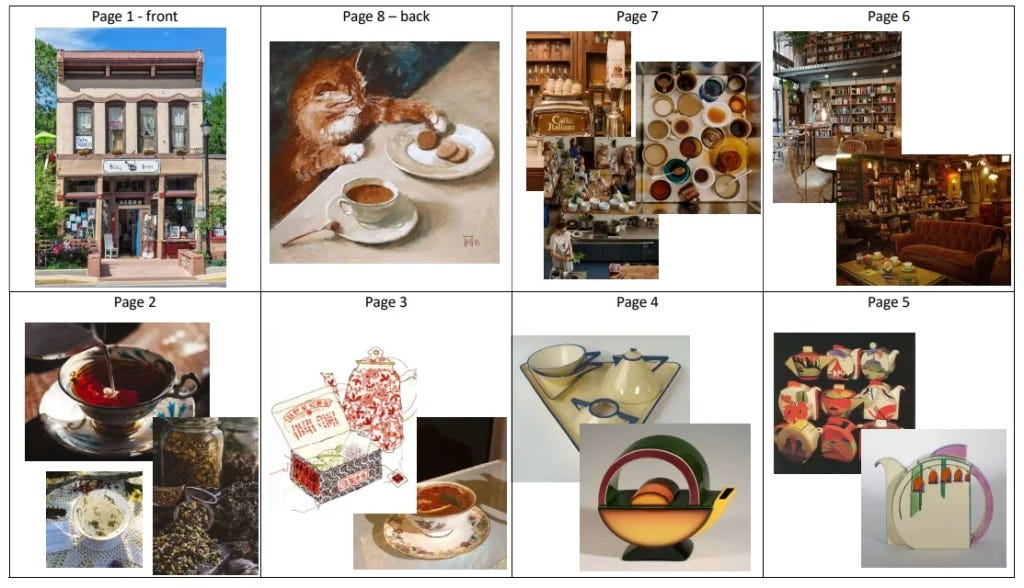
Make your zine! I’ve included a diagram here of which section is which page (when folded into a booklet) to help. Usually I decorate while the zine is already folded, but it can be useful to draw/paint/write on it while it’s flat.
A zine is anything you want it to be. But to get you started, here’s a few ideas:
Use collage. Pick a magazine or newspaper and cut words/images/shapes from it and form your own meaning from what you select. It can be as abstract or aesthetic as you like. Cut up images, glue them together, draw tentacles coming from their heads.
Pick a topic you’re passionate about. Information is power and a zine is a great way to share it. It can be anything from politics to plants to the colour purple.
Turn a poem into an illustrated book. Choose your favourite poem, or write your own, and illustrate the words.
Create a field journal. Take a walk and record what flora and fauna you see.
(Optional) Step 6
Carefully fold your zine out so that the paper is flat. Scan the decorated side and print as many copies as you like. These copies can be folded up individually and shared with others.
I hope this tutorial helps if you want to get started on your own zine project. Remember not to take it too seriously - zine making is all about grassroots organising and providing accessible information - but most importantly, art is to be shared, so go forth and create!
Further Resources
This reading list is limited to sources I could find on the internet, but there's a world of small-run printed zines in your local area! Anti-fascist collectives, zine fests, and internet groups can be a good place to start if you want to buy/read some from small artists.
How To's
Austin Kleon’s video tutorial -
Brattyxbre’s video on picking a topic -
Zines
Sherwood Forest Zine Library (Texas) - hundreds of free to download zines, organised alphabetically and by theme! - https://www.sherwoodforestzinelibrary.org/recently-added-pdfs-links
https://lcczinecollection.myblog.arts.ac.uk/
The Proud Place (Manchester, UK) Library - https://www.theproudtrust.org/spaces/library/
56A Infoshop (London, UK) Archive - https://56a.org.uk/
Some of my favourite zine instagrams are: @brattyxbre, @blacklodgepress, @twobirdszines and of course, my own, @morartcchini.